This post may contain affiliate links. This means I may receive a small commission if products are purchased through them. All opinions are honest and remain my own.
If you’re trying to research how to grow cat grass indoors at home, don’t let yourself get overwhelmed by all the conflicting information you may stumble upon. I want to make it clear that there is not just ONE “correct” way to grow it.
There are different types of grasses, different types of containers, different mediums for seeds (I’ve seen tutorials for how to grow it without soil, or in water!)
Some people will tell you to only use organic soil, or that you have to soak your seeds for x amount of time, or you need to use a shallow container. While you certainly can do all those things, you don’t need to.
When I first started growing my cat grass, I literally just followed the instructions that were on the package of wheatgrass seeds I bought. But after I planted my seeds, I went to Google to find more information because I still had so many questions.
After reading through some articles, I kind of felt like I made all types of mistakes. I was convinced that I used the wrong soil and the wrong containers, and I watered it too much!
But guess what? The seeds still sprouted, and they grew super healthy! And after researching even more, I found out that I hadn’t actually made “mistakes” at all. I just did it a little differently than some tutorials online. And guess what? It’s OK!
So let me assure you, this cat grass stuff is easy peasy!
NO EXPERIENCE REQUIRED!
Before we get to the tutorial, let’s discuss a bit more about what cat grasses are and the benefits of growing them for your cats.
What is cat grass, exactly?
To clear up any confusion, there’s no variety of grass with the technical name “cat grass”. If you look at the label of any seeds marketing as such, you’ll notice it’s typically just one type or a mix of these different cereal grasses:
- Wheatgrass
- Oat grass
- Ryegrass
- Barley grass
These grasses are sometimes sold under the label as cat grasses because cats sure love to eat them, and many people plant them specifically for their felines. They’re also completely safe, healthy, and have many benefits for cats.
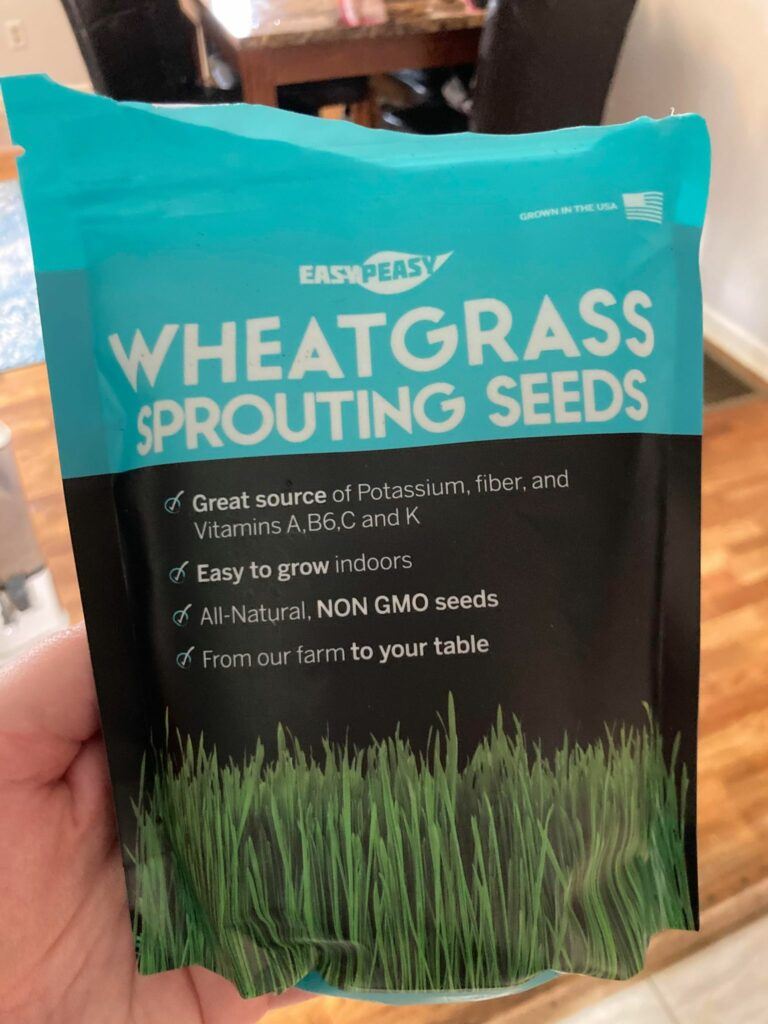
You can certainly go ahead and purchase wheatgrass, oat grass, ryegrass, or barley grass seeds that don’t say “cat grass” on the label – they’re the same thing! I simply purchased some wheatgrass seeds on Amazon for mine.
Cat grass vs. catnip
Another thing to note is cat grass and catnip are not the same things at all. Catnip, scientifically referred to as Nepeta cataria, is a member of the mint family. This plant contains an oil called nepetalactone which triggers an emotional response in cats’ brains. You’ll hear people often say it gets their cats “high” and is sort of like a drug.
Cat grasses, on the other hand, do not affect the brain, but many cats are attracted to them. There is no definite answer as to why that is, but some researchers believe cats do it to purposely help themselves throw up if they need to. It also can have a laxative effect and help them digest hairballs. In addition, they could also be eating it to get extra nutrition.
Read also: Why does my cat eat plants and throw up?
I know my cat certainly loves to run outside and chomp on grass at every opportunity, so I thought I’d give him the chance to chew on some safe and healthy grass inside instead.
What is the best type of grass to grow for cats?
You can’t really go wrong with any of these grasses – but wheatgrass and oat grass are the most popular choices.
Oat grass is high in protein, soluble fiber, and contains iron, zinc, B vitamins, and manganese. Wheatgrass has potassium, fiber, Vitamin A, C, K, and B6. They’re also great ways to help calm your cat’s tummy and help with their digestion.
Commonly seeds sold as cat grass seeds are just mixes of a few or all the common types, and using a mix is the best way to give your kitty the best variety of extra vitamins and minerals.
Using cat grass kits vs growing your own
You can choose to buy a prepacked cat grass kit, which includes seeds, soil, growing container, and instructions. These can be tempting because they seem like a total no-brainer. Just follow the instructions and viola – cat grass!
If you’d rather just get a kit and not have to deal with anything else, that’s totally fine. Check these out.

Ready made kits for growing cat grass have their downsides…
Keep in mind many cat grass kits do not include containers that have drainage holes, so if it gets overwatered it’ll be susceptible to mold. Using a spray bottle instead of just pouring water on your seeds will help significantly.
Also, after the seeds have sprouted and the roots take hold of the soil, you can literally pick up the entire grass plant and shake/dry off any excess water that may be on the bottom.
Another thing to keep in mind is the grass with these kits will probably die pretty quickly (within 1-2 weeks). This is because the containers are small and shallow, so the roots have less room. Once they overtake the soil (which happens much more quickly in small, shallow containers) the grass will begin to die.
You’ll have to start again from scratch, which probably means buying a brand new cat grass kit.
Growing your own cat grass (it’s easy!!!)
It’s actually incredibly easy to grow your own cat grass at home. And in the long run, it’s a lot less expensive since you can buy the soil and seeds in bulk, and re-use your pots.
You’ll also be able to grow longer lasting grass since you can use a larger container, to give the plants more room to spread their roots. Cat grass grown yourself in a larger container can last up to 6 weeks.
I’ve purchased those incredibly cheap cat grass kits in the past (the kind that are just a couple of bucks) and had no luck. Not even one seed sprouted! After doing a lot of research and growing it myself, I would never buy a kit again!
What type of soil do you need to grow cat grass?
Any type of potting soil will work to grow cat grass, just as long as it doesn’t contain pesticides. Some people say you have to make sure to only use organic with no fertilizers but it’s a personal choice.
There are even tutorials on how to grow cat grass without soil, using a mix of courser materials. I even came across one on how to grow it in water! So these little seedlings are obviously not very picky.
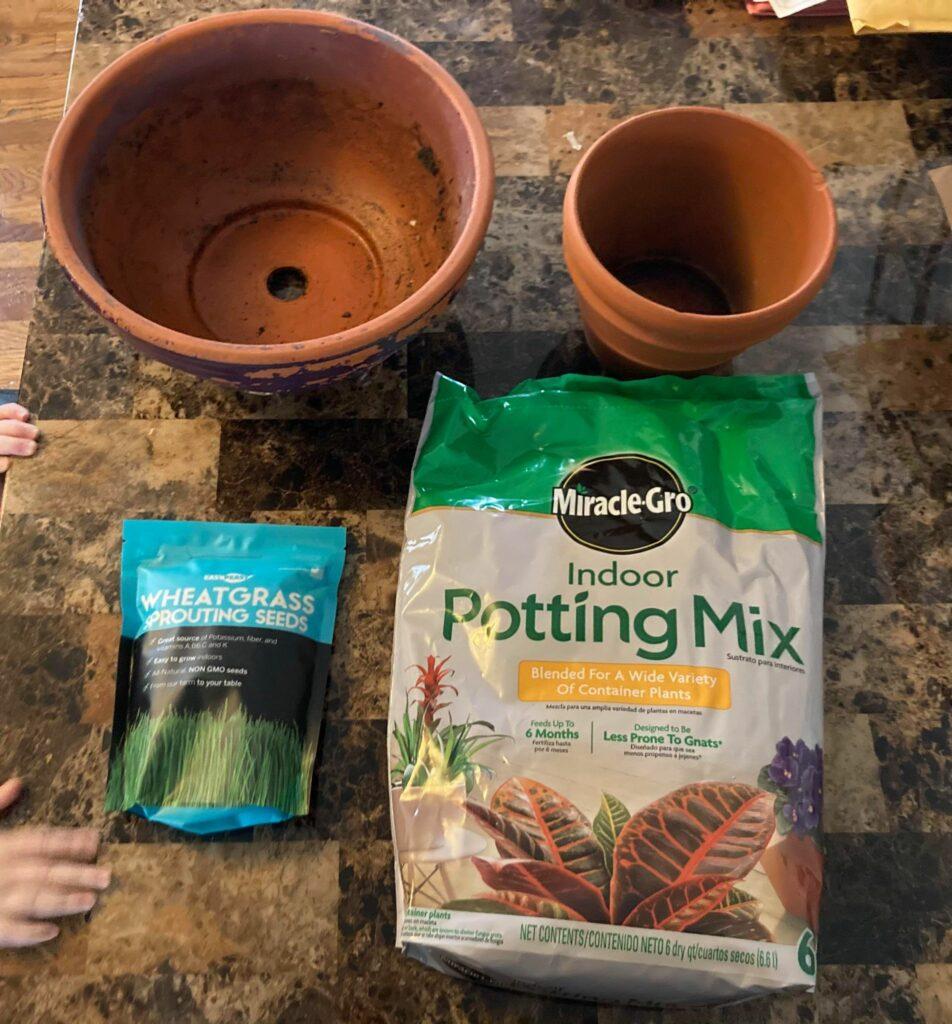
Personally, I used Miracle-Gro Potting Soil and had excellent results. There’s conflicting information about using this for cat grass, but the soil contains non-toxic amounts of phosphorus, potassium, and nitrogen and anything grown within it is safe for consumption. It also contains a mix of different ingredients, including perlite, so it drains well (which is what you’re looking for to avoid moldy roots).
My local cat rescue has a simple PDF guide for growing cat grass, and even they recommend using Miracle-Gro soil.
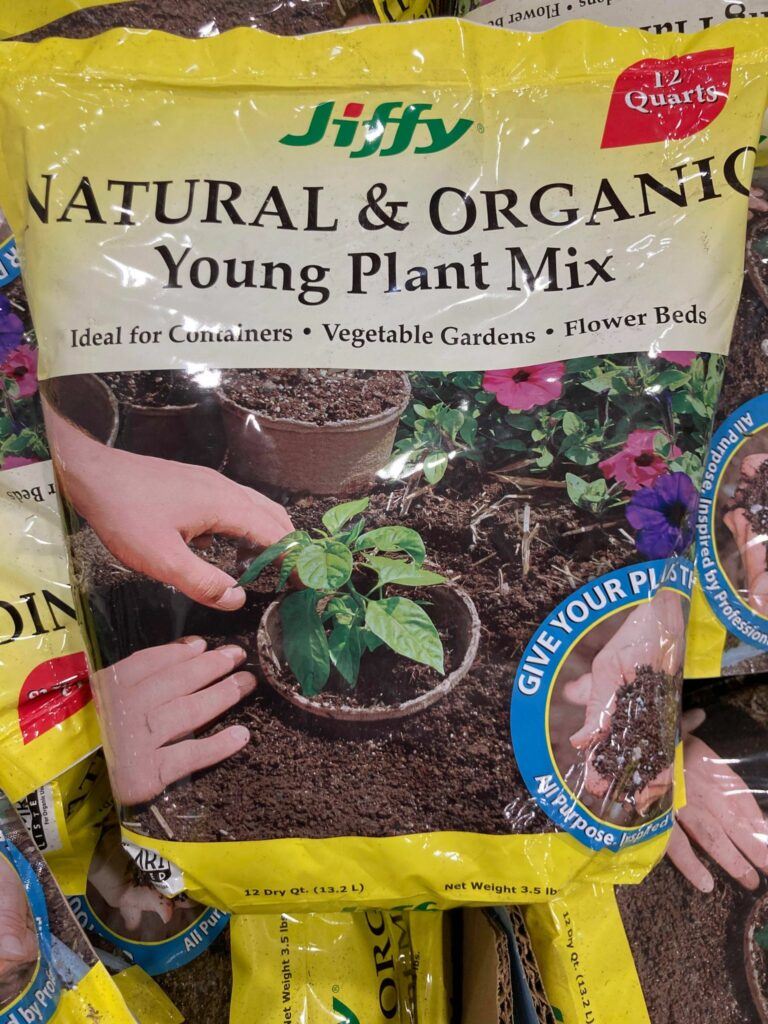
Of course if you feel safer using only organic soil, go for it. It’s a lot more expensive if you try to buy it online, but I found this bag in store at my local Lowe’s for about $6..
How long does it take to grow cat grass?
I found the entire process to take about 10 days. The seeds started to sprout after about 3-4 days, and then took another week from that point to reach an appropriate length for my cat to eat.
Ultimate beginners instructions for growing cat grass in 7 easy steps
As with any DIY tutorial, let’s start with the materials you’ll need!
Materials:
- Seeds – wheatgrass, oat grass, ryegrass, barley, or flax (or a mix of any or all of these)
- Potting soil – any kind will work as long as it doesn’t have pesticides (I used Miracle-Gro potting soil)
- Planter pot with drainage holes
- Plastic wrap (optional)
- Spray bottle and water
Step 1: Soak seeds anywhere between 6-8 hours (optional)
Soaking seeds before planting is optional – I skip out on this step and still have seeds that sprout and grow fine. If you choose to do this, soak the seeds in a bowl of water for between 6-8 hours before planting. Doing so allows the seeds to get adequate moisture to help them sprout, without the need to water any extra in the beginning.
However, I just make sure to use soil that drains well and place the seeds in a pot with drainage holes at the bottom. This way I can make sure the seeds get enough water while they germinate without worrying about mold. Remember that cat grass can be susceptible to mold if you water it too much, especially with cat grass kits since they’re so small and typically the containers have no holes to let any excess water escape.
Step 2: Pick a growing container and fill it anywhere between 2/3 – 3/4 full with potting soil (depends on the size of the growing pot)
For this tutorial, I planted 2 batches with planting pots I happened to have around my house, an 7” and 12” (wide). You can probably find something that will work around your home, or just pick up some at your local gardening center. The containers I have are ceramic, but plastic works just fine.
Recommendations:
- Pick a container/pot with drainage holes at the bottom (or make your own)
- Keep a saucer underneath to catch the excess water
- Make sure it’s sturdy enough your cat won’t knock it over
- Avoid containers that are too tall, since your cat needs to be able to reach the grass!
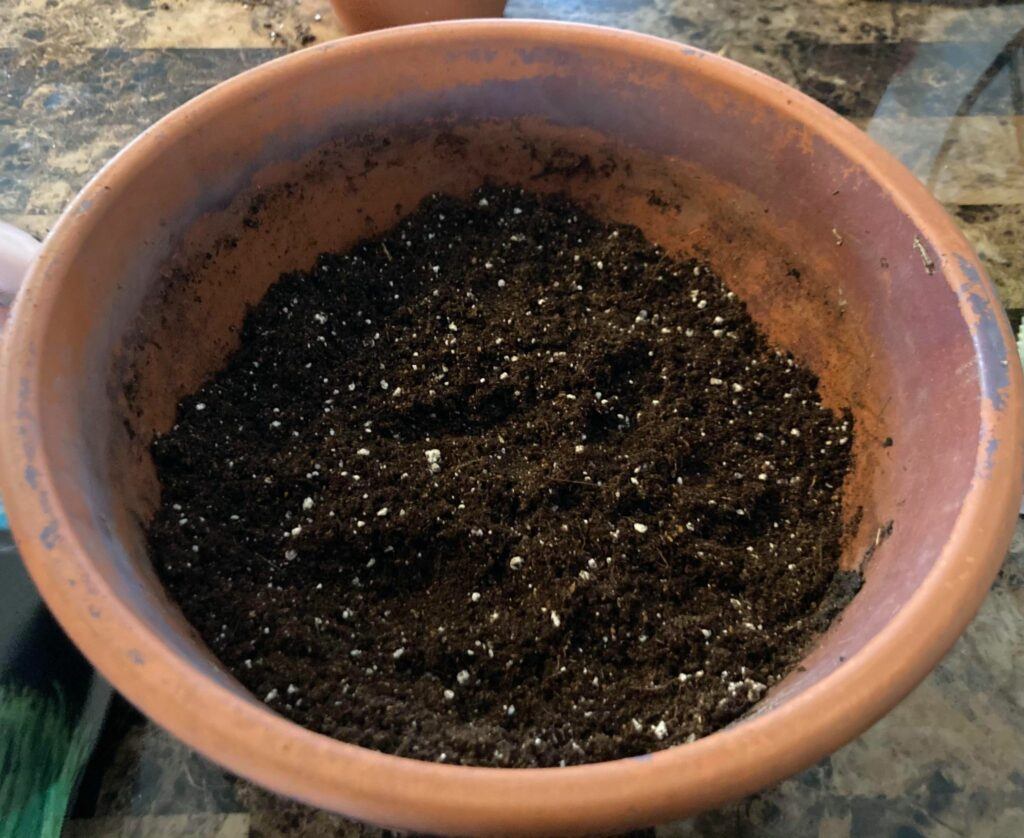
Many people opt for shallow growing trays since it gives cats the easiest access and the grass doesn’t have to grow very high before sprouting up over the top. It also uses a lot less soil, and since cat grass dies quickly, you’re not wasting so much. Personally, I used deeper pots because it’s what I had on hand, and it worked just fine.
You’re going to have to fill your pots/containers full enough with soil so there’s room for the roots to grow. I filled mine around 2/3 of the way, but if your container is shallow you may need to fill it more. (For reference, my potters are about 8” deep)
Keep in mind it grows around 7-8” tall.
Step 3: Spread seeds in an even layer across top of soil
Take a handful and sprinkle over the dirt. Try to make sure they’re somewhat evenly distributed, but don’t worry about perfection. Since you’re trying to achieve a nice thick planter of grass, you want the seeds close together. The roots will overrun the soil and die within a few weeks due to the limited space in the pot.
Step 4: Cover seeds with a thin layer of soil (around 1/4 inch)
After your seeds are placed, place a very thin layer of dirt over the top of them, around 1/4 inch. You don’t want to cover them in TOO much soil, so you may still see some seeds popping up in the dirt after you do this step and that’s fine.
I saw a lady who grew cat grass without covering the seeds at all and it turned out great! So maybe this step is optional as well? Feel free to experiment yourself.
Step 5: Water seeds (if you didn’t presoak your seeds, they’ll need a bit of extra water for a couple days)
You want to make sure you give the seeds enough water for proper germination, but you don’t want to overwater them either. I just poured enough water on top to get the soil wet, but not leave standing puddles behind.
As soon as the soil gets damp, you can stop. Water seeds daily during the first few days before and during the sprouting process.
*If you soaked the seeds beforehand, you can just use a spray bottle every day to keep the soil wet during this process instead since the seeds have plenty of moisture inside them already.
Step 6: Place in a warm place with indirect sunlight to help seeds sprout
The conditions for proper germination are indirect light, moisture, and warmth. You want to keep the plant away from direct sunlight until after it has fully sprouted.
You can loosely cover your containers with plastic wrap, or use some type of plastic cover with holes to help the seeds sprout faster. However this is optional as well, I didn’t have plastic wrap or anything to use on hand, so I just skipped it.
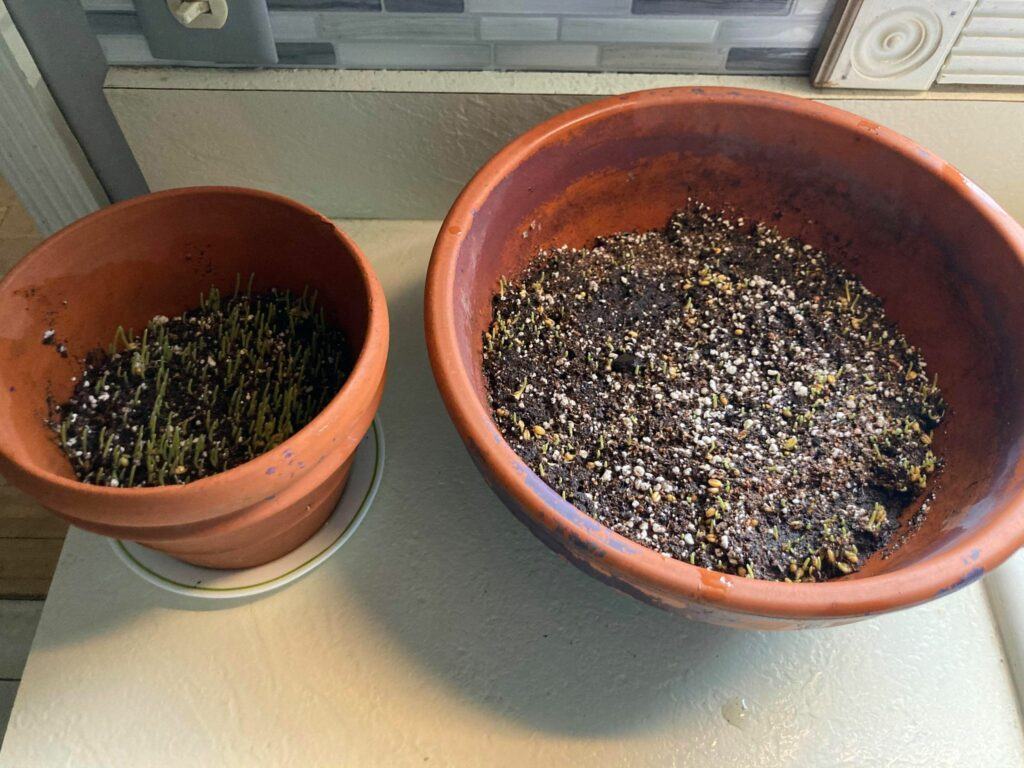
I placed the small pot on my kitchen counter, and the larger one in my living room. Both were away from direct light, and I made sure to water them every day.
Another great spot to place your container is on top the the refrigerator, since it’s warmer and usually out of the sunshine.
Step 7: After sprouting, place in sunlight to help grass keep growing (or use a grow light)
Your grass will need some sunshine to grow, so after it sprouts up move it near a window.
Most Instructables will tell you it needs a lot of full sunlight, however, mine didn’t get that much. I placed the pots in the windows and they got the most natural sunlight they could… but I grew this grass in January in Michigan. So, the days were short and dreary.
However, the little it did receive was enough to make it grow tall! (But the more sunlight it gets, the faster it’ll grow)
After 5 days…
After 10 days…
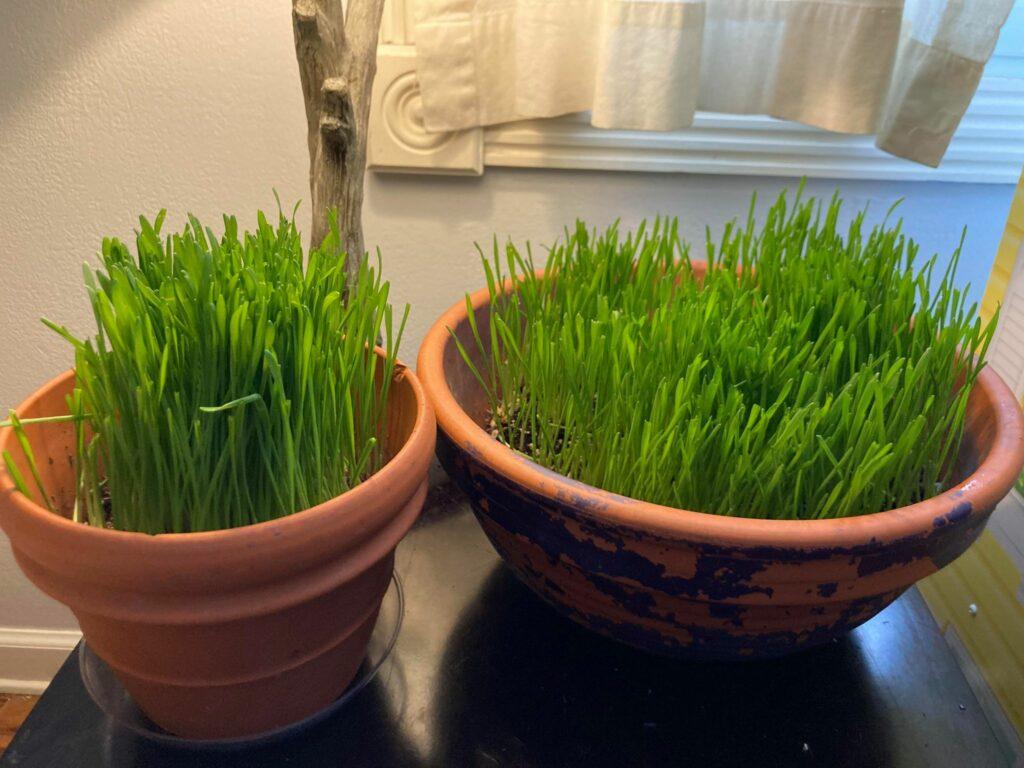
The larger pot took a bit longer to sprout up than the smaller one, but they both ended up just fine as you can see!
You also want to make sure you try to keep them out of reach from your cats until the grass is long enough for them to eat, which is around 4-5 inches. Otherwise, your cat will just put the grass out by the roots when they try to snack on it! (I know this from experience!)
If you don’t have an appropriate place to put it where it’ll get any sun, you can always use artificial grow lights.
After it grows, water your cat grass a few times per week to keep it damp
After the seeds sprout, you can use less water. How often you need to water the plant depends on the environment within your home, so keep an eye on it and keep the soil damp. Typically it will only need it about 2-3 times per week.
For this part it’s easiest to use a spray bottle to avoid over wetting the soil.
How long will the cat grass last before it dies?
When it comes to growing these grasses indoors in growing pots, they won’t last more than 4-6 weeks if you’re lucky. Grasses grown in very small and shallow containers will die much more quickly, within a week or two. This is because the roots have limited space, and will eventually overcrowd the soil.
Cat grasses grown outdoors will have a longer life expectancy because they have much more room for their roots to stretch out within the soil. However even so, they are only annual plants which means they die at the end of the growing season and need to be replanted the next year.
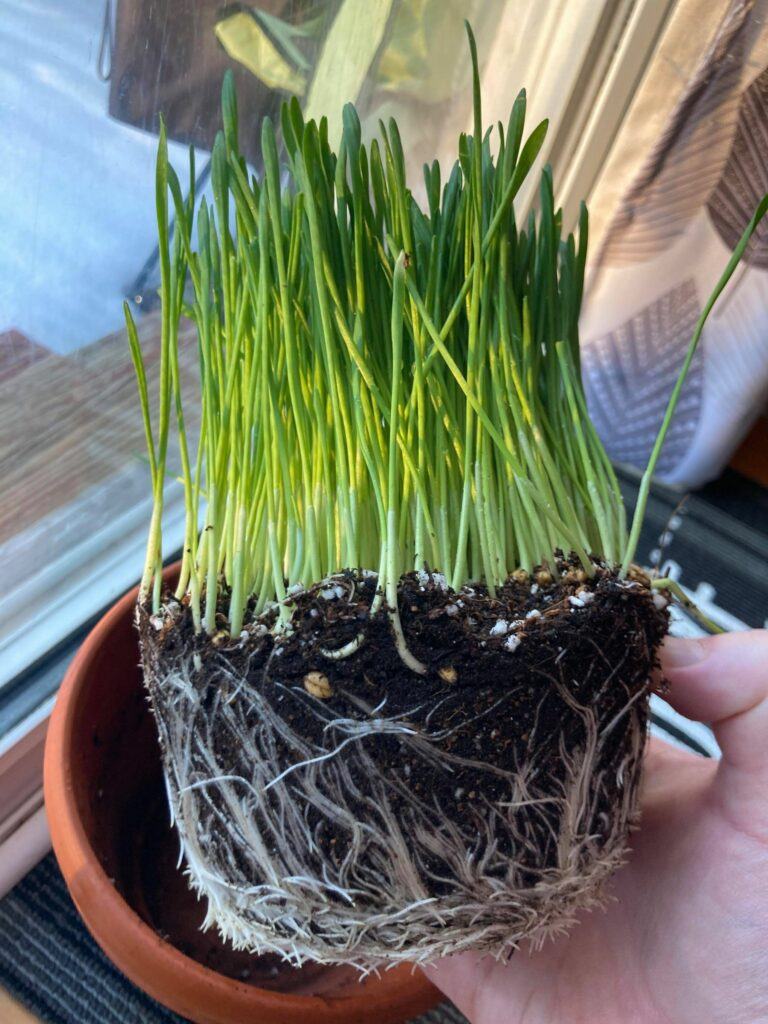
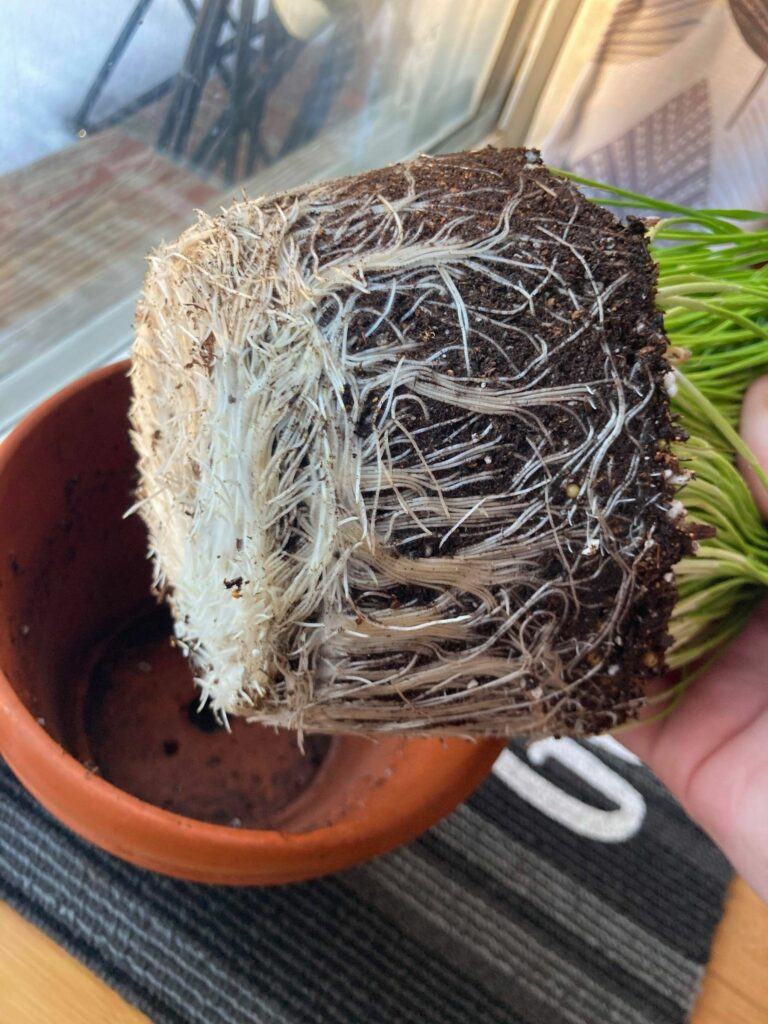
After your grass grows a certain length, the roots will form within the soil and hold it together, so you can literally pick it up and very easily transplant it somewhere else if you wish. However, this is also indicative that the plant has a very limited life in the growing pot (it’s rootbound).
If your cat chews down the grass enough, you can “mow” the grass by cutting it down low and it should re-grow. But these plants will need to be tossed eventually and you’ll need to start a new batch from scratch.
Verdict: My cat loves it!
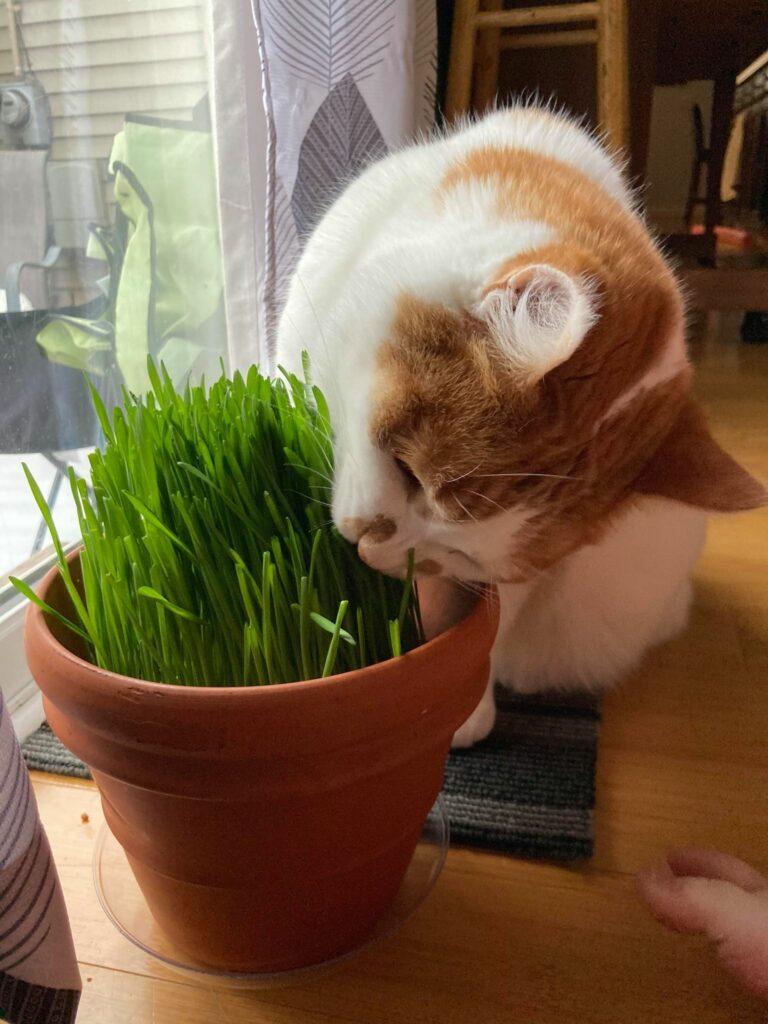
My cat Louie certainly loves fresh cat grass!
If you have any questions, drop me a comment below!

I had a brother who planted 2 dish tubs with grass for his cats. I have no idea what seeds he used, but they lasted very well. When one started looking ratty, he would change them out, allowing a time of regrowth in preparation for the next change out